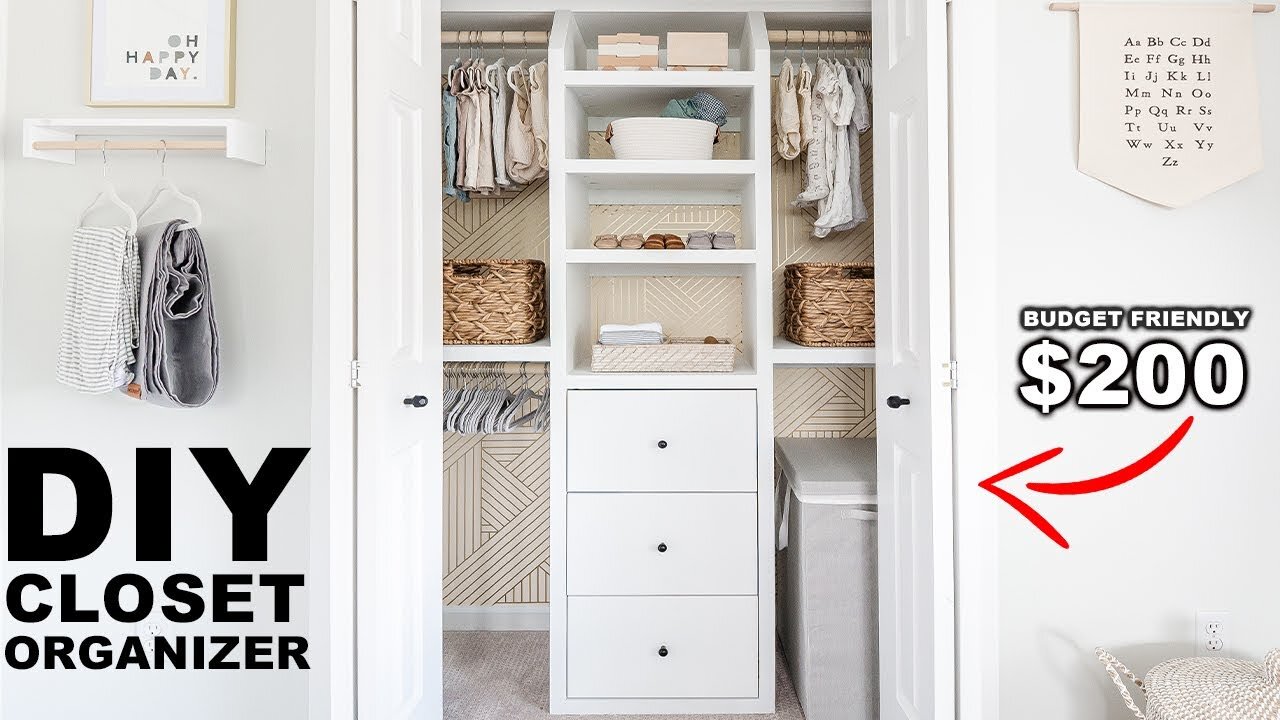
DIY Built-in Closet Organizer
With a new baby on the way, we’ve been working hard on getting our nursery ready. After making over the whole room, the closet was starting to look a little dated and out of place, so I took the whole thing out and built this DIY built-in closet organizer.
Here’s how I did it:
Cutting the Cabinet Pieces
I decided to go with MDF for the main cabinet which I wanted to place down the middle of the closet.

First, I set about cutting this into long strips that were 17 inches wide and 79 inches tall. Naturally, yours will be different depending on the size of your closet.
I then set about cutting more MDF to create the shelves using the same process.

Building the Shelves
With the shelf pieces cut, the next task was to add pocket holes that I could use to attach them to the sides of the cabinet.
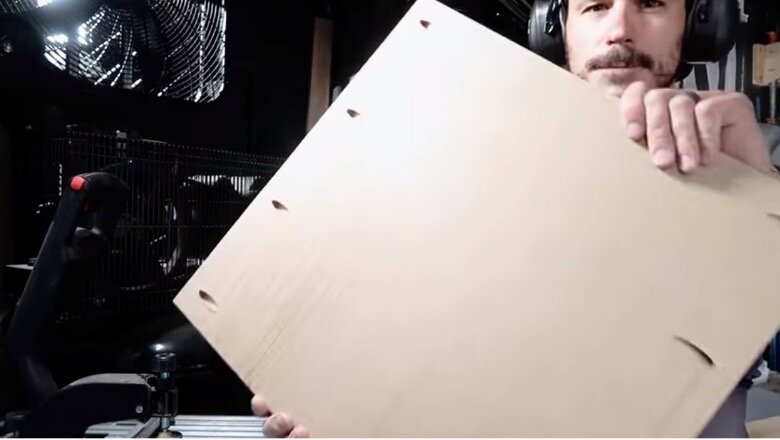
With that done, use both wood glue and 1 1/4 inch nails to secure each board to the main base.
Cleaning Out the Closet
Obviously, I couldn’t start building anything new in that closet without first getting rid of what was already there.
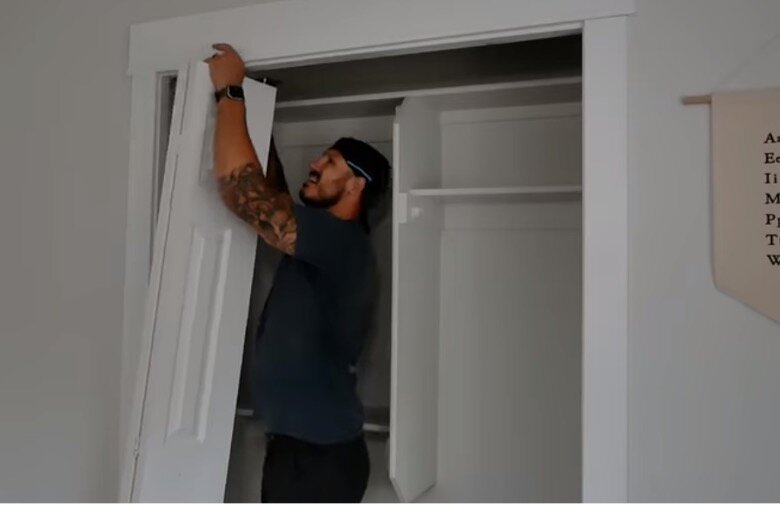
So, I spent a few minutes cleaning out the closet, taking down the doors and existing shelves until I was left with a completely blank canvas which is always great for getting those creative ideas flowing!
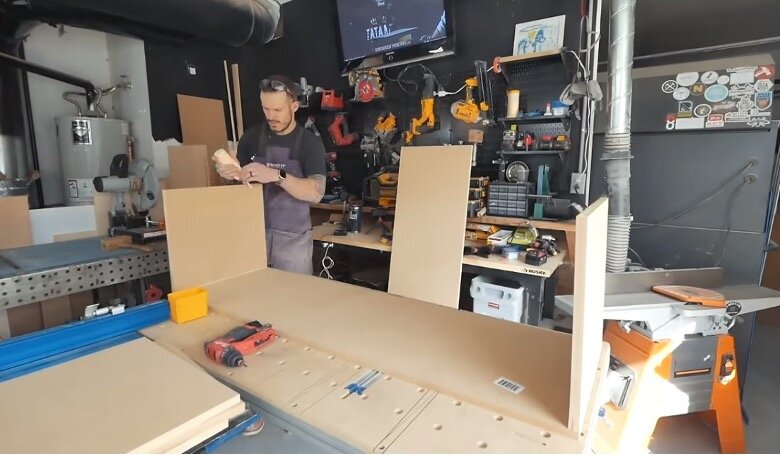
Making the Cabinet

With everything out of the way, I could get to work on building the cabinet, fitting the basic frame together and adding two additional pieces of MDF at the back for extra support.
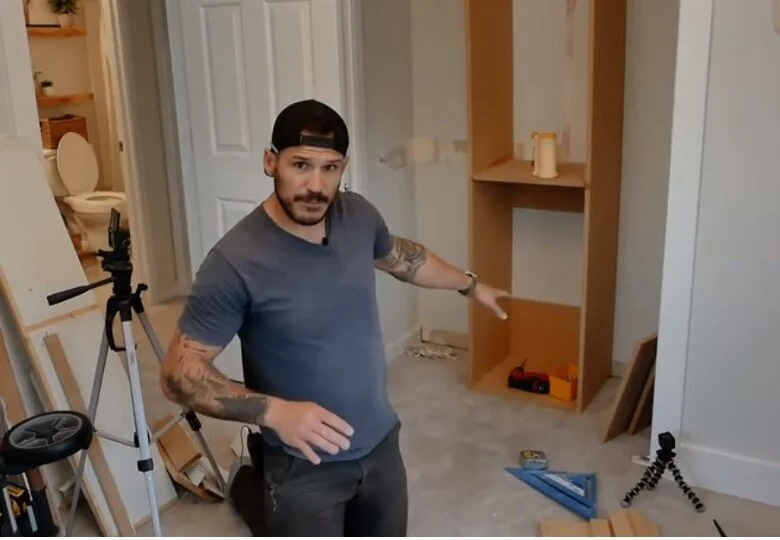
With the basic frame done, I secured it to the wall, nailing it in place where the wall studs for the previous closet shelving went.
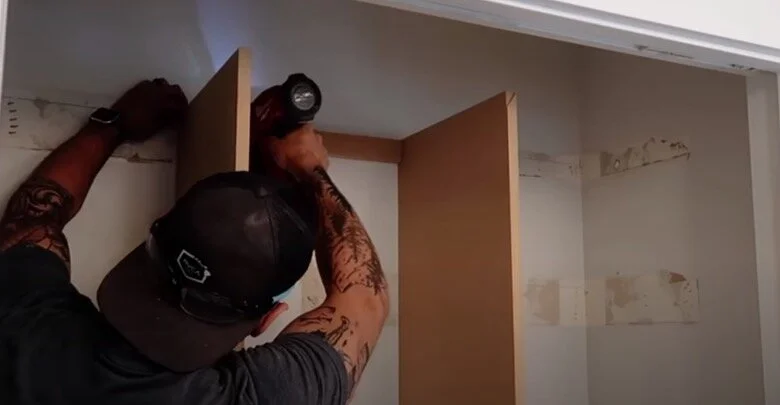
Additional Shelving
Once the cabinet was in place, it was time to create the additional closet shelves.
First, I created a supporting structure by attaching a few pieces of wood to the walls.

Then secured the shelves on top of them.

Adding the Shelving Trim
With the main structure in place, I cut up some strips of wood and attached them to the front of the shelves and the main base frame, providing additional strength and support while also improving the look.

If you're investing this much time in a project, you want the finished product to last as long as possible.

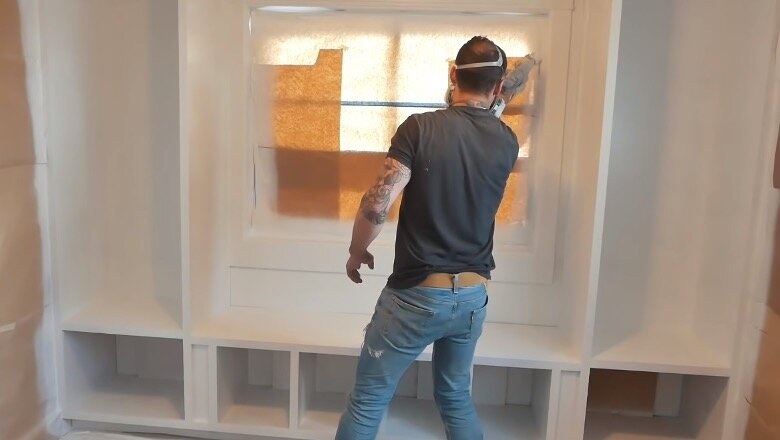
Plastering and Wood Staining
Before I set about creating the drawers and painting the whole thing, I went over the back of the closet with plaster, cleaning and smoothing over the surface to get rid of any signs of the old closet.
After that, I treated the closet structure with wood stain and added some paintable caulk all the way around the edges.
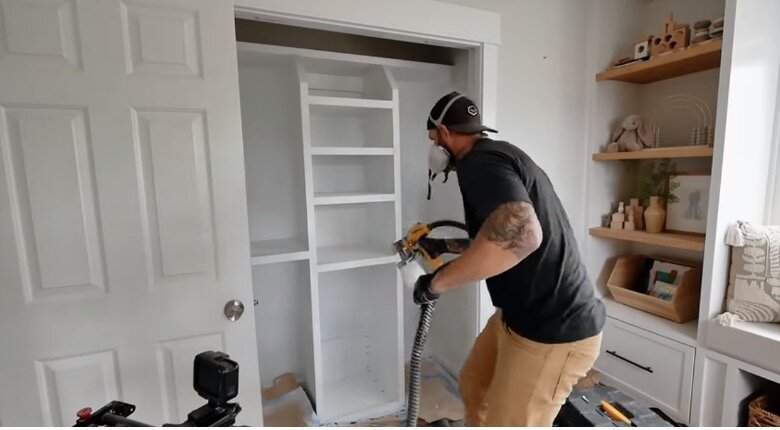
Priming and Painting
Up next, I turned to my trusty sander to sand everything down before applying a coat of primer...

...Followed by the paint.
As I’ve said before, I recommend avoiding latex paint for projects like and using an emerald urethane alkyd. This stuff is as easy to apply as latex but dries super hard like an oil paint.
You can secure this to your base using a combination of brad nails and wood glue.
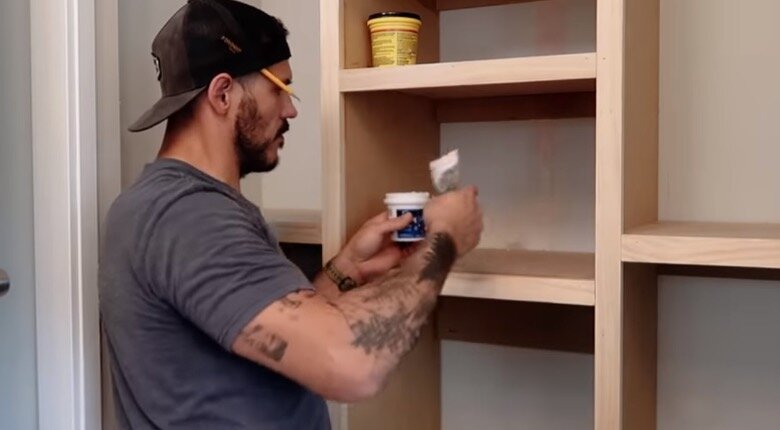
Filling, Sanding and Caulking

Building the Drawers
I used plywood to create the closet drawers, cutting the pieces to appropriate size and using wood glue and brad nails to fit them together.

Once the frame is in place. Use a quality wood filler to fill in all the nail holes and joints to give it a smooth finish.
You can then smooth over the filler with 120-grit sandpaper.

I then added pocket holes so that I could add the drawers to the cabinet.

Nice and simple. Add a coat of good quality primer before painting your reading nook in whatever color you’ve chosen for your nursery.
Finally, I went with a simple drawer face and added the handles.

Hanging Rail
Once the drawers were in place, there was only one thing left to do:
Add a hanging rail for baby’s new clothes.
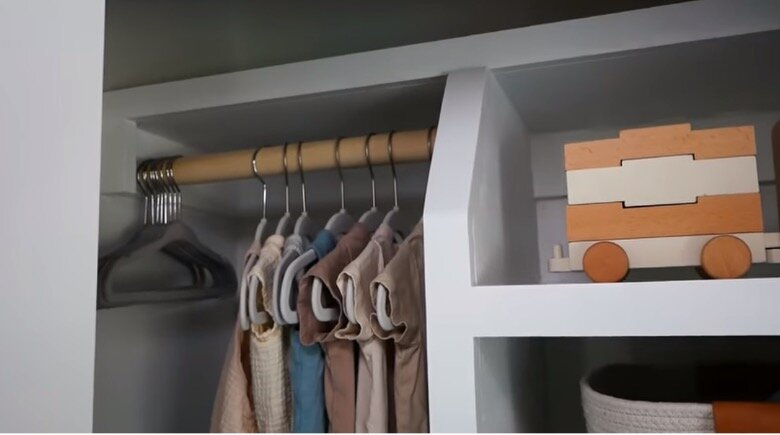
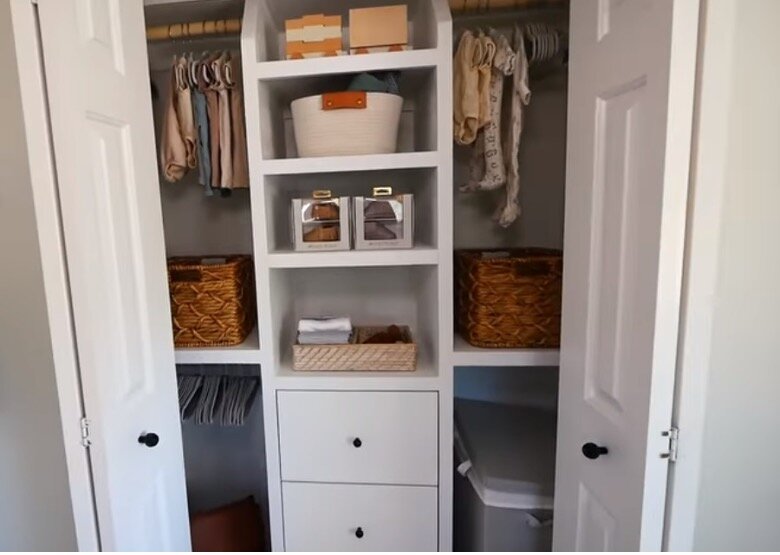
With that, our brand new closet organizer was complete.