DIY Metal Cube Shelves (No Welding)
These metal cube shelves can make an attractive addition to any room, not to mention serving as a useful storage solution. The best part? Unlike other DIY projects that use metal, there’s absolutely no welding involved.

Cutting Steel
To begin, take you’re going to need steel rods like these:

These are quarter-inch thick and five feet long, the kind of you pick up fairly cheap from any hardware store.
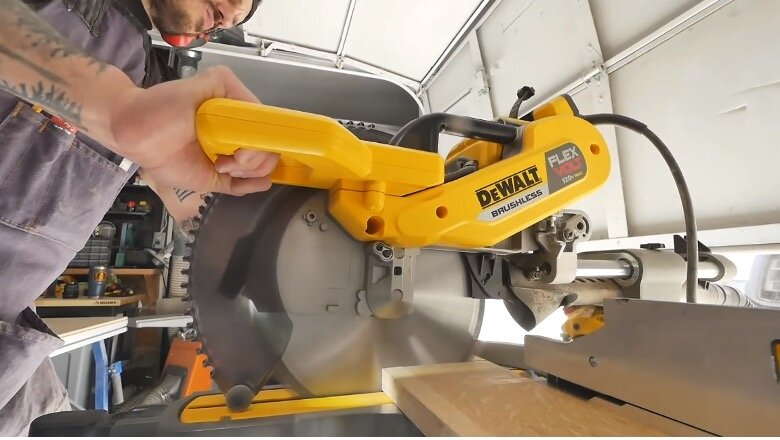
You’ve got a couple of options for cutting them down to the size you want for your shelves.

Building the Shelves
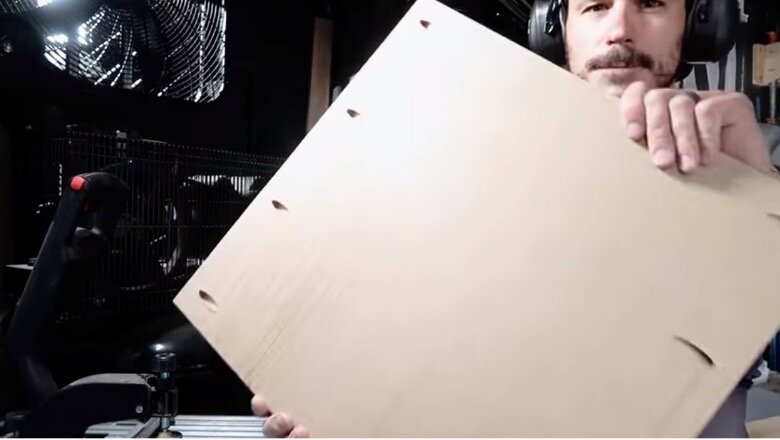
With the shelf pieces cut, the next task was to add pocket holes that I could use to attach them to the sides of the cabinet.
A reciprocating saw or circular saw with a metal-cutting blade will be effective...

...As will an angle grinder or a chop saw like the one I used.

Jointing
With all your steel rods cut to size, it’s time to join them together. Holding two rods in position at a 90-degree angle can be achieved by simply putting a few bricks together to form a makeshift clamp. Making the Cabinet

With the rods in position, you’re going to meld them together using brazing rods.

In order to work, these need to be heated to 1600 degrees. This can be achieved using a gas torch.
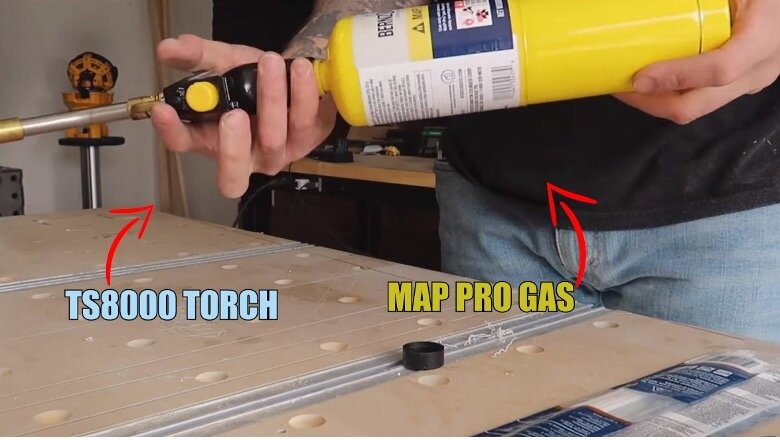
Things are going to get seriously hot, so be sure to wear protective gloves and goggles while you’re working on this part of the project.


Grinding and Cleaning
When your finished cube has cooled off, you’re going to have a few rough spots around the joints. These can be smoothed off with a grinder.

With that done, you’re going to need to degrease your frames, otherwise, the paint won’t stick to the metal.

This is as easy as giving them a thorough clean with a good degreaser like rubbing alcohol or
Acetone.
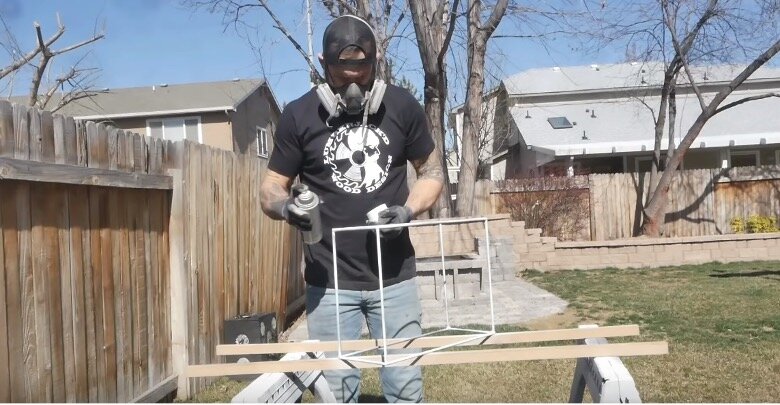
Painting
Once the frame has dried off, you can start the painting process with a coat of primer...

....Before finishing off by spraying with metal paint.
Creating the Shelf Boards
While the frames are drying, you can get to work on creating the boards that will set at the bottom of your shelves. I used oak for this, but you can use whichever would you prefer and simply cut them to size.

When you’re done, you’ll find it a good idea to use sandpaper to smooth out the edges.

You can then treat your shelves with a coat or two of wood stain.

I prefer to use wipe-on poly, but feel free to go with whatever works best for you.

Hanging Your Shelves
Finally, all that’s left to do is to hang your shelves. You can do this using nylon clamps.

I used quarter-inch thick clamps, the same thickness as the metal we’re using. These just hug the frame of your cube shelf and can be screwed into the wall.

With that, all that’s left to do is sit back, relax, and enjoy your new DIY metal cube shelves.