
DIY Built-in Reading Nook | Nursery Makeover
With a new baby on the way, we’re giving our nursery a complete makeover, starting with this attractive reading nook. Today, I’ll show you how to create your own using basic joining techniques and low-cost materials.

Building the Frame

To keep things simple and inexpensive, you can use low-cost MDF boards to build your reading nook, starting with the base.

Start by trimming your boards to size. This will be determined by how much space you have to fit your reading nook into.

With that done, use both wood glue and 1 1/4 inch nails to secure each board to the main base.
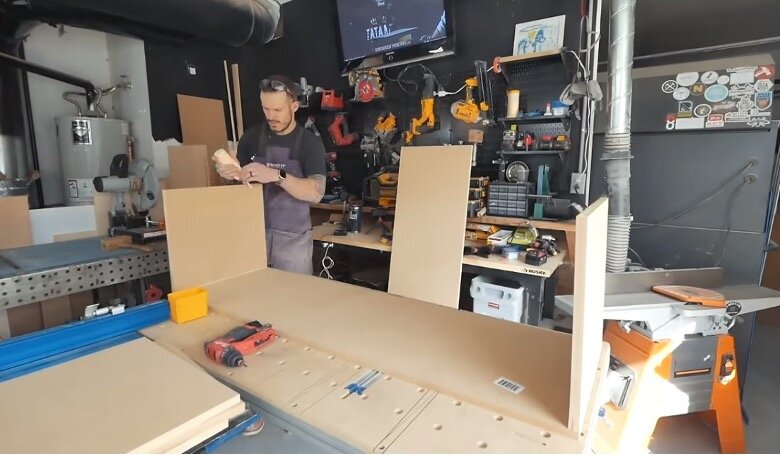
Since MDF is a soft material, I recommend countersinking a pilot hole before driving the screw into it.

Creating the Toe Kick Sub-Base

A toe kick is an area at the bottom of a cabinet or set of drawers that makes it more comfortable to use.

You can assemble one for your nook using 2x4s as in the image above. Place these three inches under the cabinet and secure them into the wall and floorboards.

With the toe kick in place, you can then add the base cabinets and secure them in place.
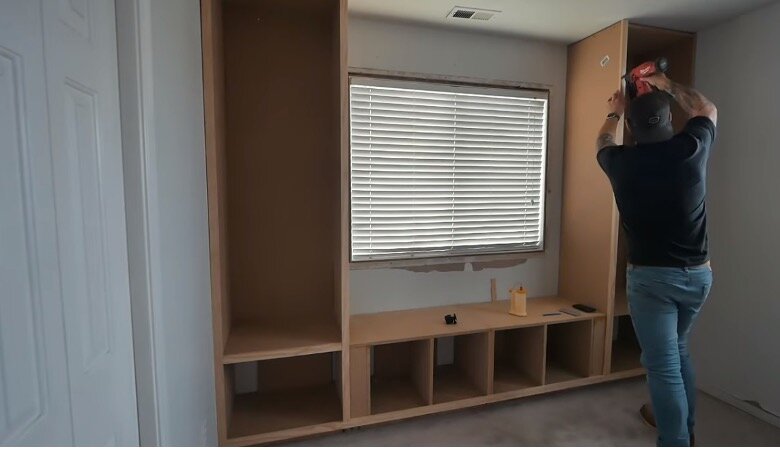
Vertical Cabinets

Next, build the upright vertical cabinets to the same depth as the base.

Once built, use a level and wood wedges to level all of the cabinets when installing them.
Adding Reinforcements

If you're investing this much time in a project, you want the finished product to last as long as possible.

You can then use the same process to create the upper cabinets.

With that in mind, identify the main pressure points (those parts of your cabin that are likely to be weakened as a result of weight-bearing over time) and consider reinforcing them with extra boards.

Building the Face Frame
Even though we've used inexpensive MDF to build the base, the face frame is the one part that tends to get dinged and hit the most, so I recommend using a stronger material like pine for this.
You can secure this to your base using a combination of brad nails and wood glue.
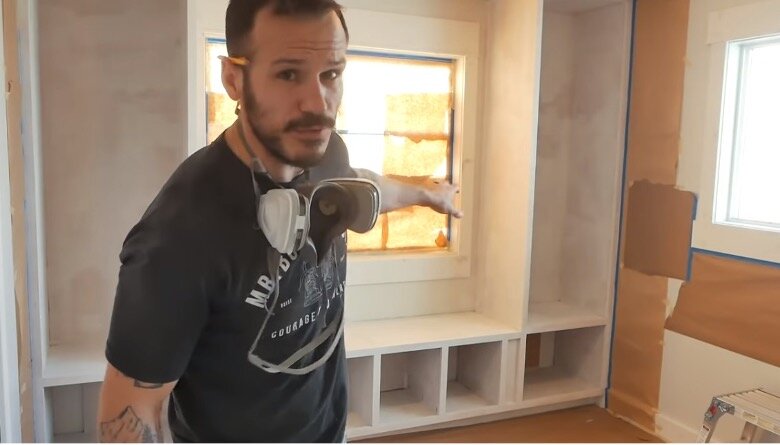
Filling, Sanding and Caulking

Prime and Paint
When that’s done, you can prime and paint the frame.

Once the frame is in place. Use a quality wood filler to fill in all the nail holes and joints to give it a smooth finish.
You can then smooth over the filler with 120-grit sandpaper.

After cleaning up the area to get rid of dust, add caulking to the edges of your reading nook then leave it to dry while getting ready to paint.
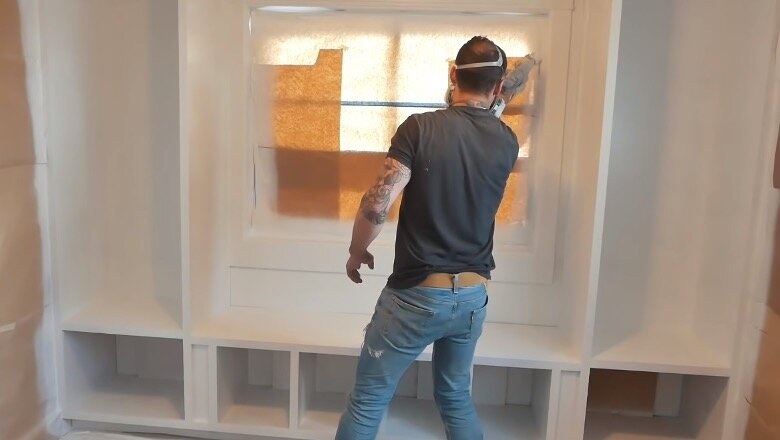
Primer and Painting
Nice and simple. Add a coat of good quality primer before painting your reading nook in whatever color you’ve chosen for your nursery.
Building the Drawers and Shelves
With the paint drying, it's time to get to work on building the drawers.

Again, this is a simple process involving cutting your MDF boards to size and using wood glue and brad nails to join the frame together, then using durable plywood for the drawer faces.

For the cabinet shelves, you can use the same kind of plywood with drilled-in pocket holes.

Afterward, adding wood stain and polyurethane sealer will help protect those shelves from years of use. When that’s dry, simply add your shelves into place, taking extra care to ensure you’ve measured everything properly.

Upholstering the Bench Cushion
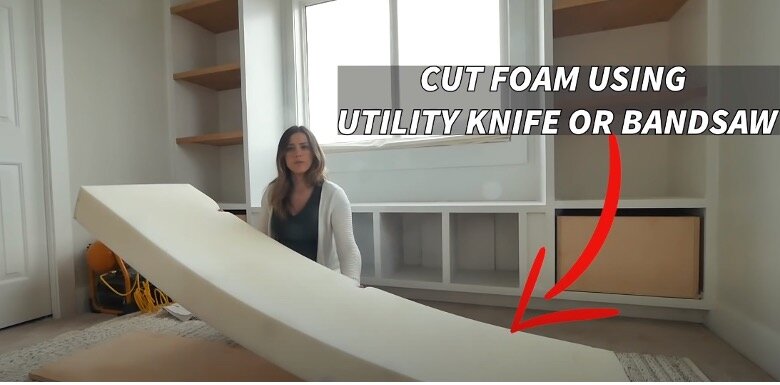
In between the two vertical cabinets you’re going to have a comfortable seating area.
For this part, you'll need a foam base, plywood board, and some upholstering fabric.

Lay the plywood board across the underside of the foam base, wrap the fabric tightly around it and use a stapler to staple the fabric to the board.
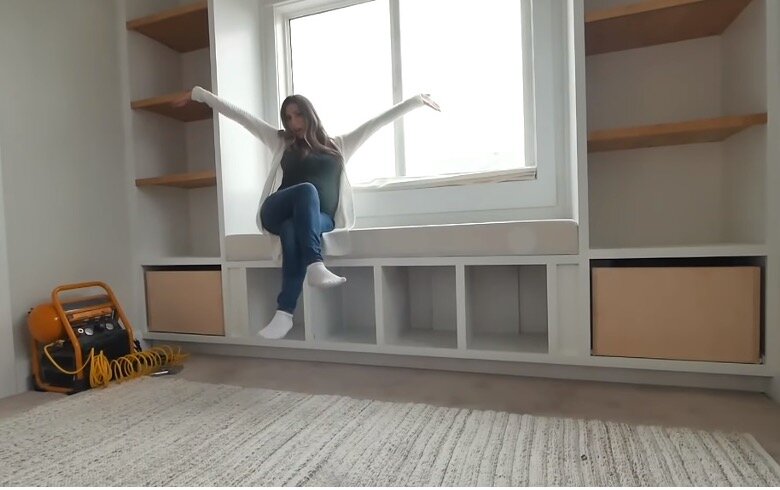
With that, simply slot it into place and you're ready for the final task.
Adding the Drawer Faces

When adding your drawer faces, I recommend using a few playing cards to ensure an even gap all the way around.
Fasten the face into place, then add your handles.

All that’s left to do then is to sit back, relax, and congratulate yourself on a job well done.