
DIY Under Staircase Makeover | Closet to Pantry
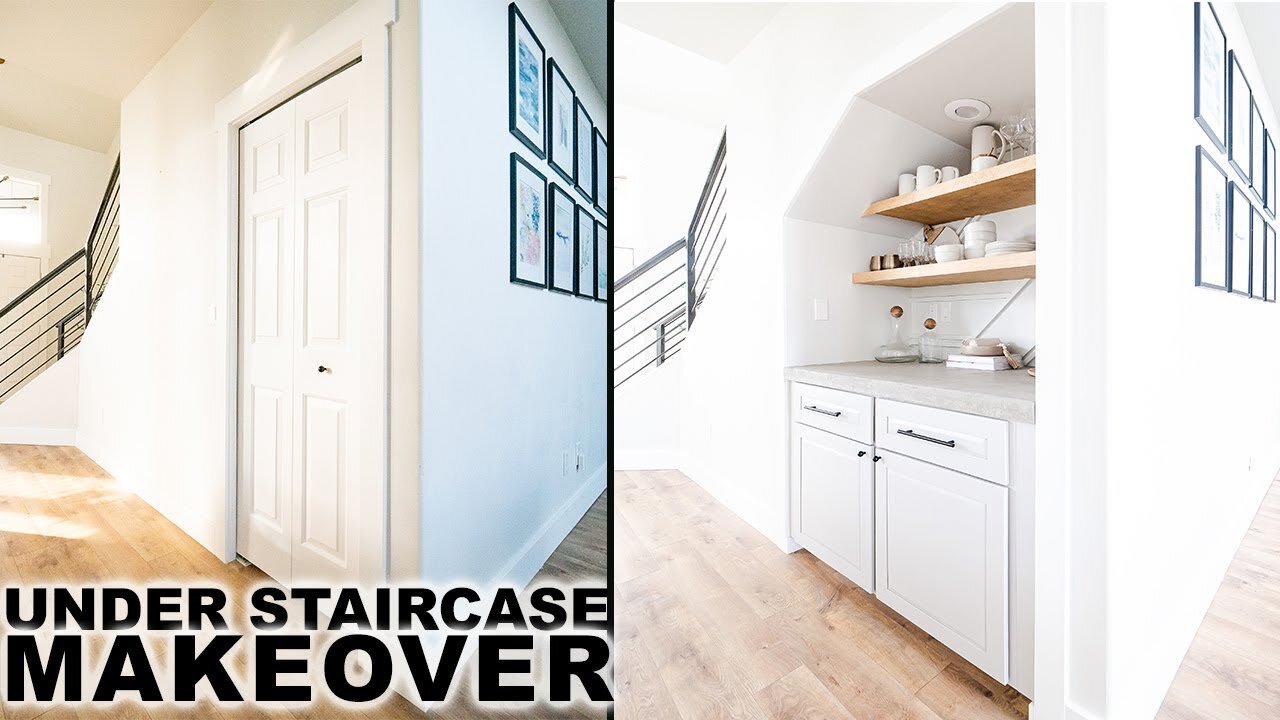
Our kitchen pantry was incredibly small, but we had all this extra space under the stairs that was just being used as storage. So, I set about transforming that under the stairs closet into a brand new pantry complete with cabinets, shelves, and counter.
Here’s how it’s done.
Closet to Pantry Makeover Tutorial
Making Space
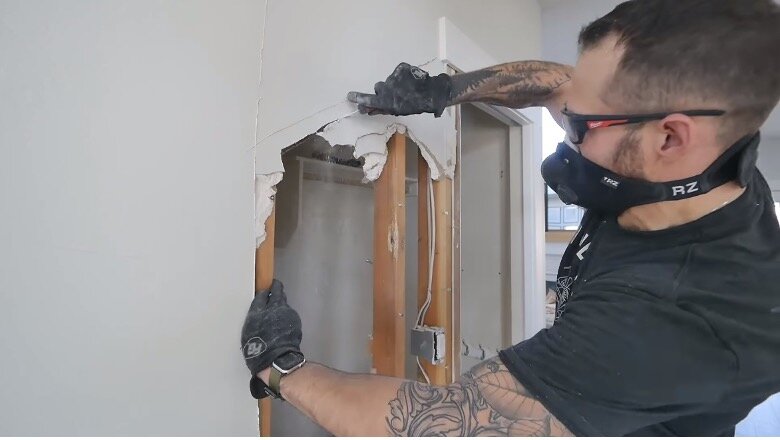
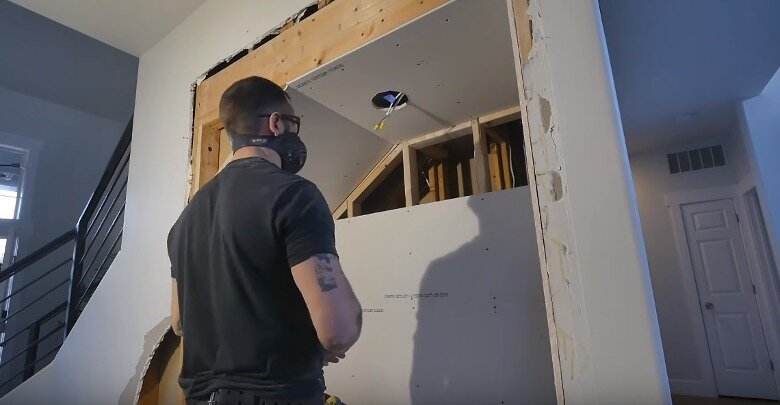
First things first, clear out the under stairs closet, remove the doors, then get to work removing the surrounding drywall.
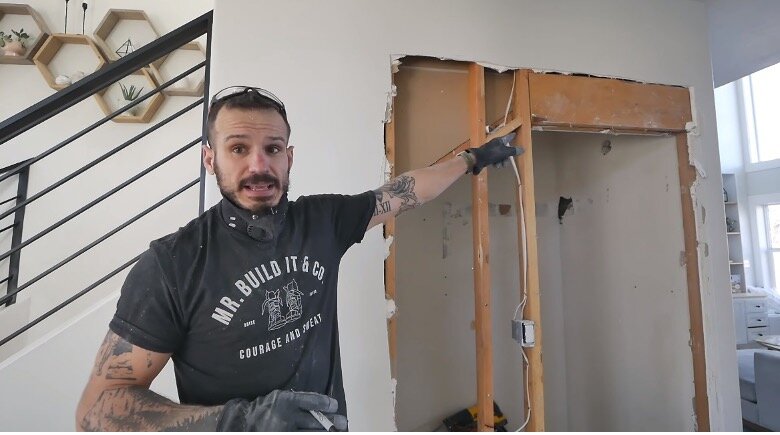
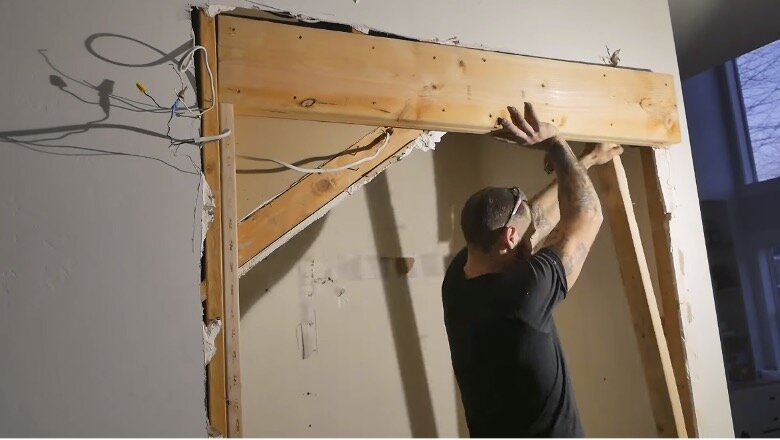
One issue I ran into early on was a load-bearing support beam that needed taking care of.
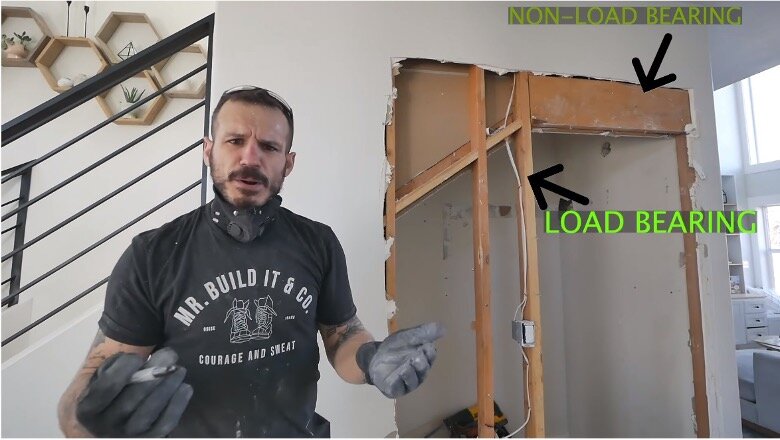
I got around this by taking the beam out and adding a new beam all the way across the top before fitting new support beams to the side.
With that done, it was easy enough to finish gutting out the drywall to make enough space for our new pantry.
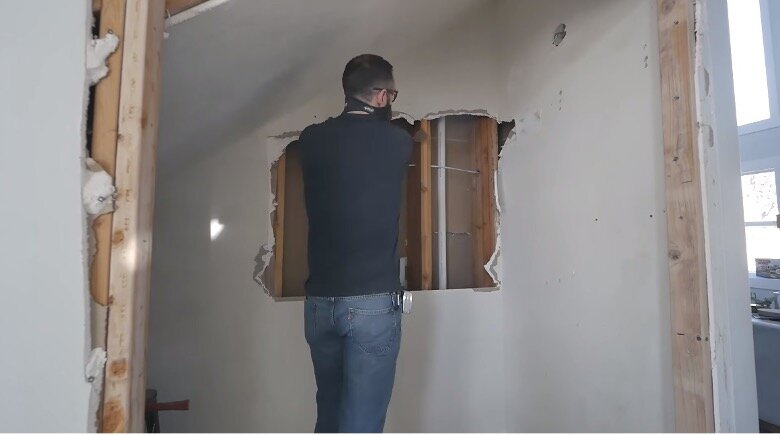
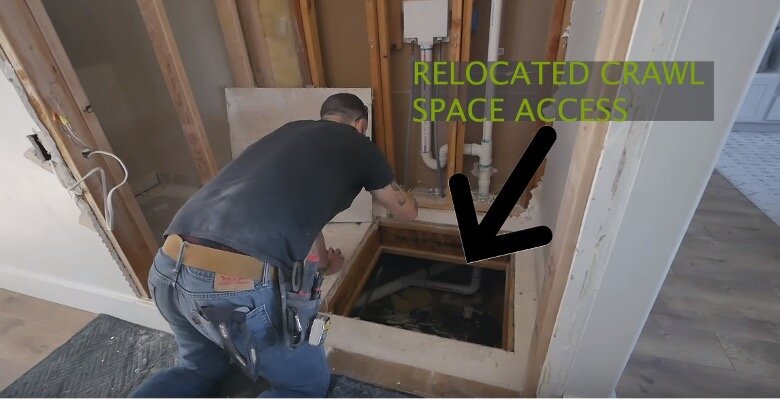
That included taking out the back wall and covering up the crawl space access.
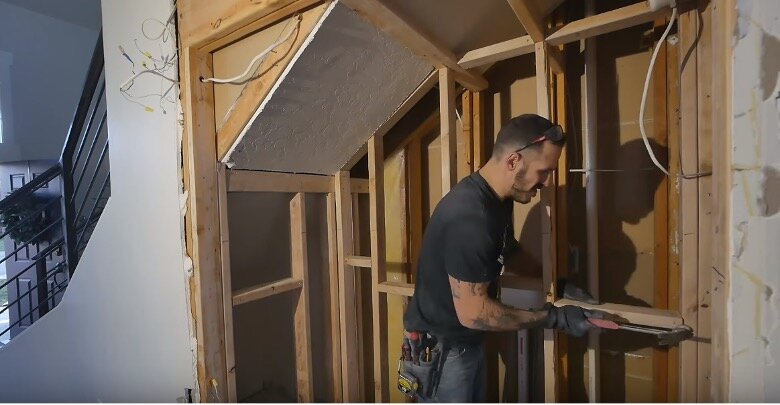
Framing
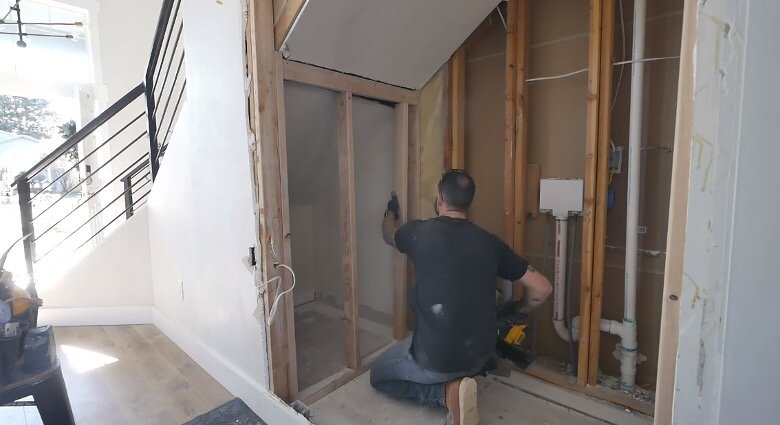
Next, you can go ahead and add the framing for the pantry.
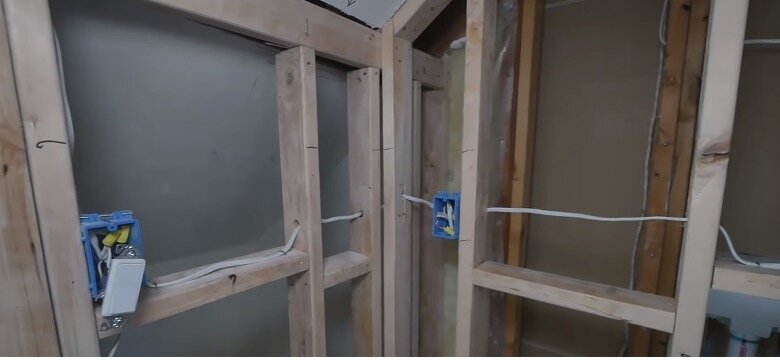
Install Junction Box
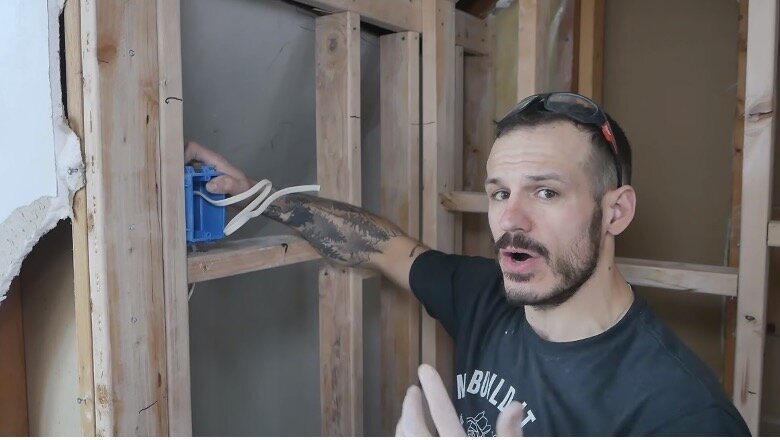
Next, you’re going to add your junction boxes for whatever wiring you may need, keeping your state’s local electrical codes in mind the whole time.
Add the Drywall
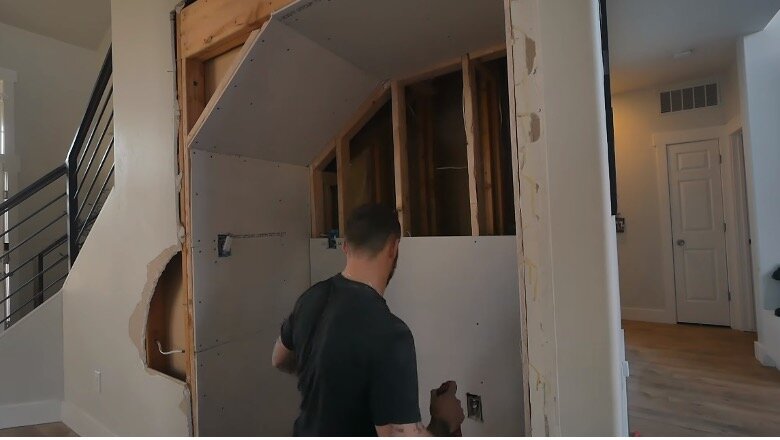
With the frame in place, you can now set about covering with drywall.
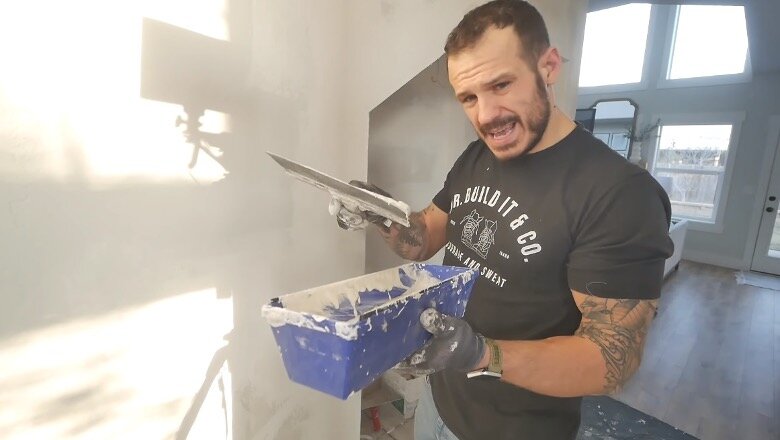
To join the drywall boards together, apply drywall compound using a taping knife, then apply drywall tape over the compound and run the taping knife over it to flush out the excess.
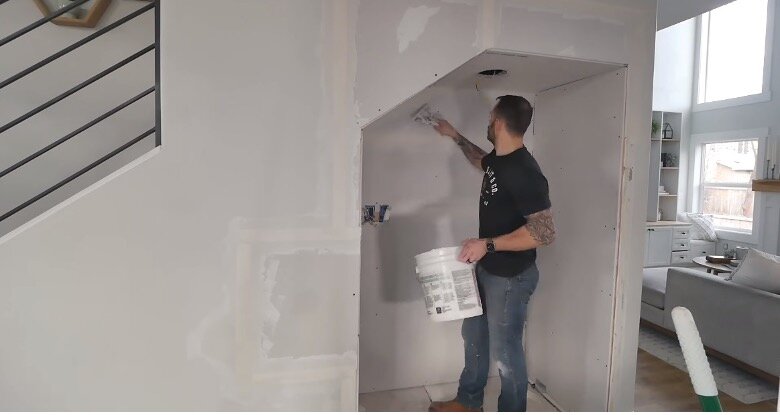
For the corners, I used 3M Drywall Corner Bead Adhesive, but you can use drywall compound if you prefer.
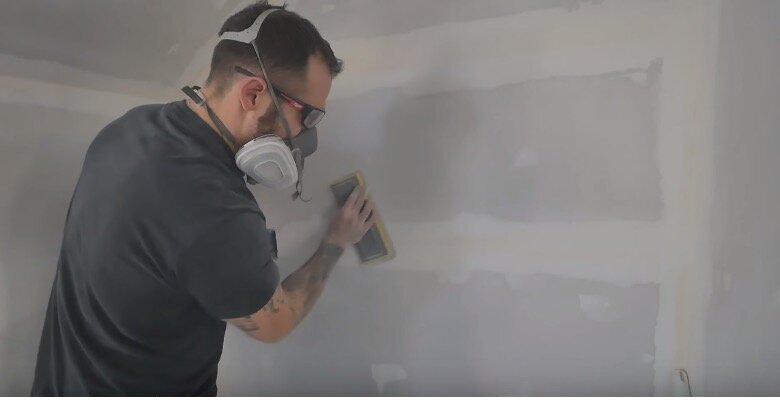
After the drywall compound dries, use 8-100 grit sandpaper to lightly sand down all the harsh edges without exposing the tape you just laid down in the previous step.
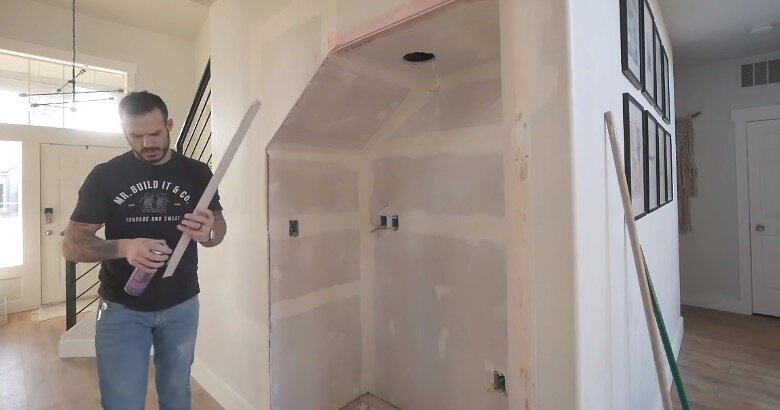
Skimming, Texturing, and Painting
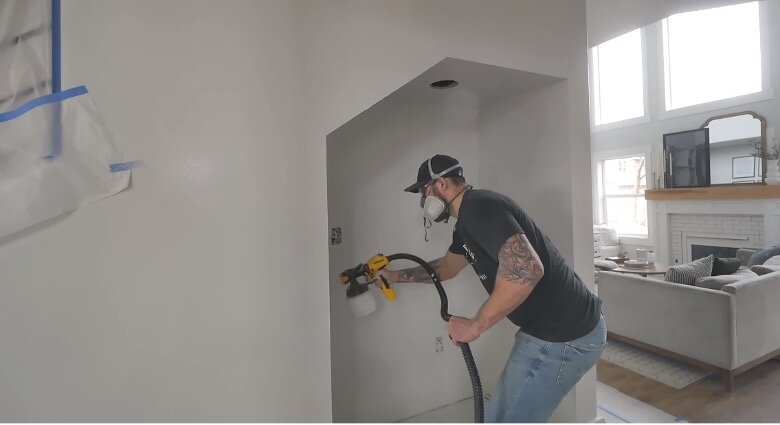
After a layer of skimming, you can then apply a layer of texturing before getting ready to paint. For our closet makeover, I used the Wagner Flexio 5000 Paint Sprayer, but feel free to use whatever method works best for you.
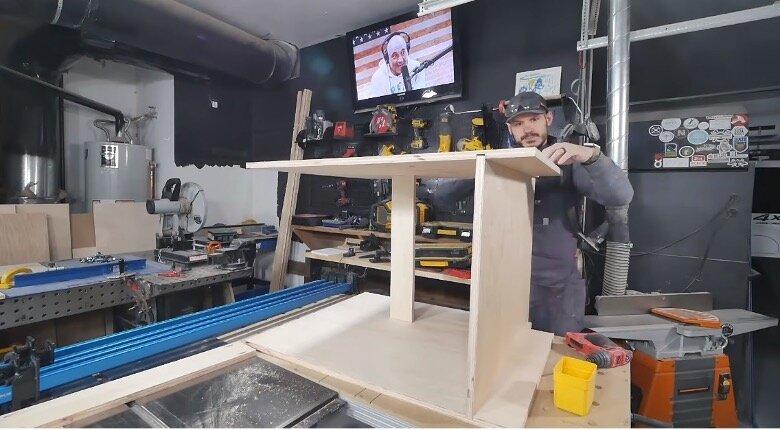
Cabinet Making
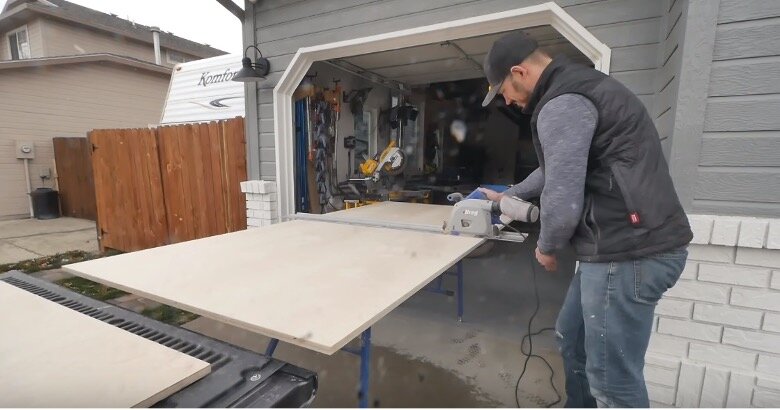
The paint may take a while to dry, which presents a good opportunity to get started on the cabinet making.
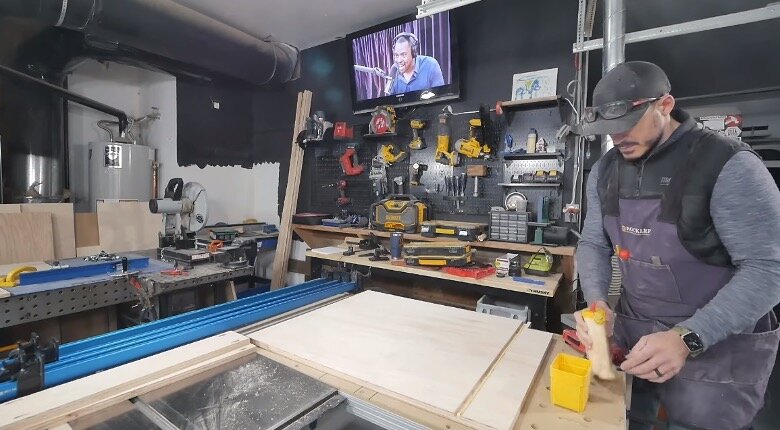
I decided to make my cabinets out of three-quarter-inch-thick plywood to ensure that they're truly built to last.
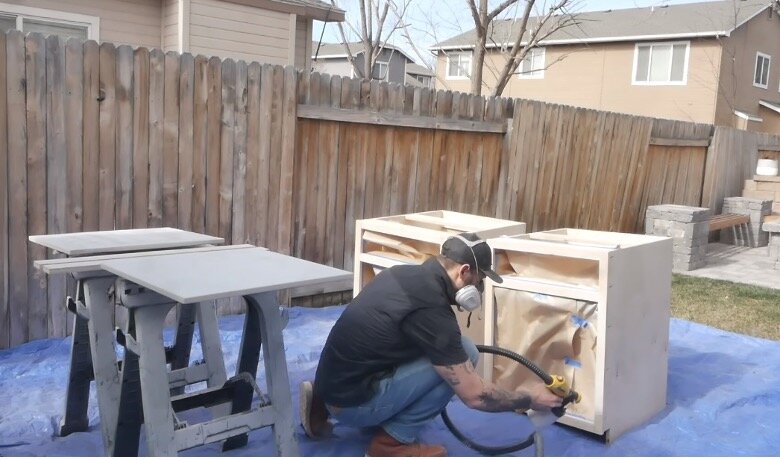
Again, I used the Wagner Flexio 5000 Paint Sprayer to paint the cabinets.
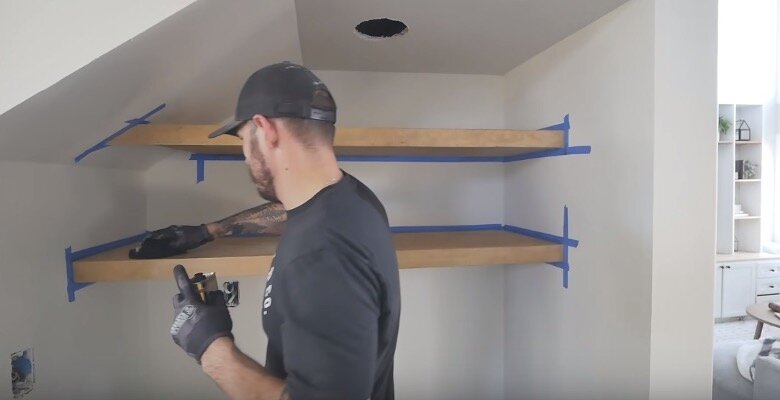
Shelves

With the cabinet’s drying, you can get on and make the shelves. I made a whole extra video on how to make those shelves if you want to check that out on my YouTube channel.
I used Minwax Fruitwood stain to stain the shelves, then added a wipe-on polyurethane to protect the shelves for years to come.
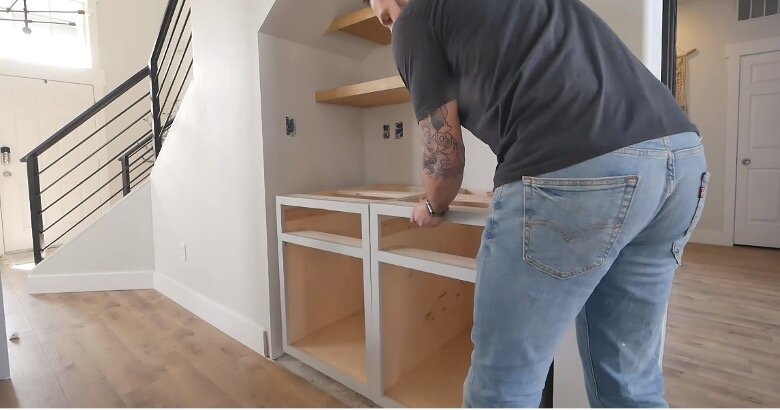
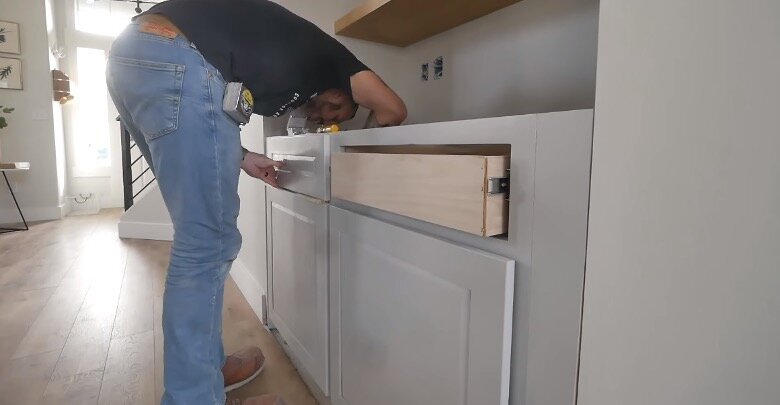
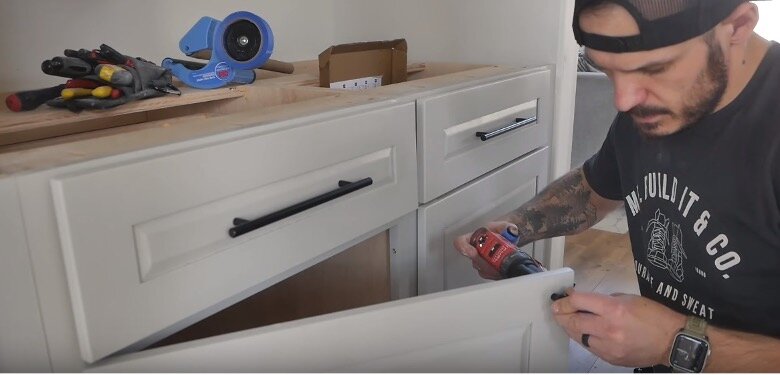
Bringing it All Together
Once the shelves are finished, it’s time to bring in your cabinets, secure them in place and add doors, handles and other finishing touches.
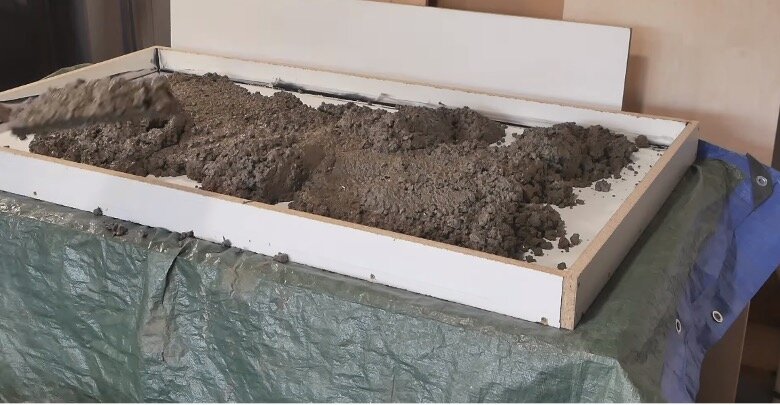
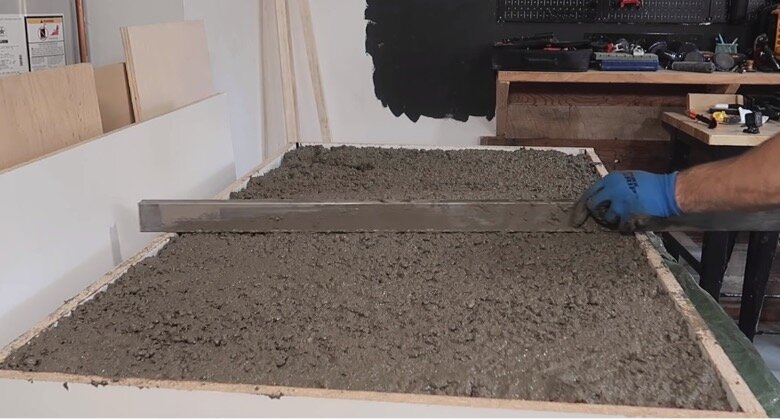
Finally, I made a mould from wood and filled it with concrete to create a solid countertop.
Then used some small strips of wood to create the design on the back wall.
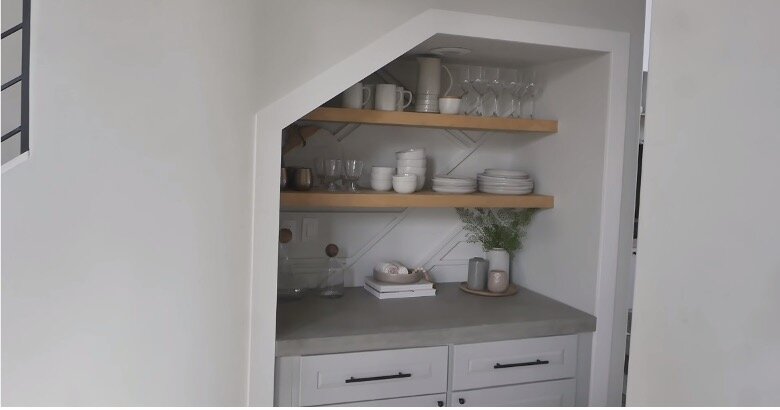
And there you have it, from an old closet to a fresh, new pantry!