
How to Build Modern Nightstands
Proving that DIY doesn’t have to be difficult, here’s an easy, beginner-friendly way to DIY your own attractive, modern nightstands.
How to Build Modern Nightstands
Beginner-Friendly Modern Nightstands: A DIY Tutorial

Cut Maple Plywood to Size

To begin our build, we’re going to use half-inch maple plywood. A 4ft x 8ft sheet is plenty sufficient

Take your sheet and cut it to size using the dimensions shown above.

Add Pocket Holes

We’re going to assemble this nightstand using pocket holes and wood glue, so let’s start by using a pocket hole jig to put the pocket holes in place

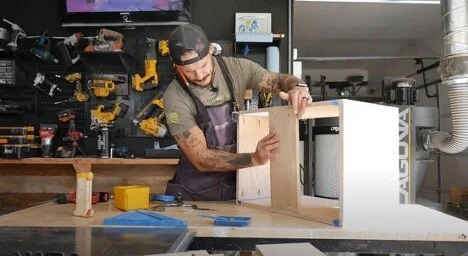
Start Assembly
With the pocket holes in place, we can apply wood glue and start to fasten everything into place

Since wood glue has a tendency to squeeze out and spill, we can use some tape, applied where the two pieces of wood join, which will act as a kind of “bib” to catch the spilled glue. Once everything dries, just remove the tape and you’ll have a clean piece of wood.

We can then continue adding in the pocket hole screws and assembling the nightstand like so:
Eventually, we’ll have something that looks like this:
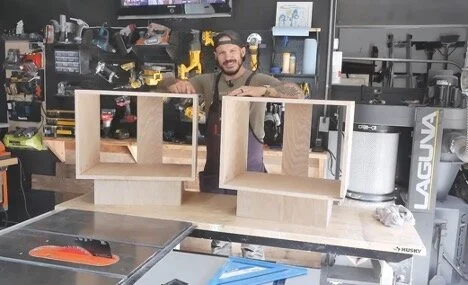
Build the Drawers
With that done, we can start building the drawers.

The important thing here is to measure the width of the gap inside the nightstand frame and then subtract an inch. This gives you a half-inch on either side to add the drawer slides.

Again, we can use pocket holes and wood glue to put these drawers together.
Add Drawer Slides

Up next, we simply need to install the drawer slides.
Sanding and Staining

With everything in place, it’s time to sand the whole thing. A light, 220 grit sanding is more than enough for this project.

We can then get to work on applying our favorite wood stain.
Applying Clear Coat

Next, a good coat of water-based, semi-gloss clear coat will help protect our new nightstand and keep it looking at its best for longer.
Add Drawer Faces and Handles

Last but not least, we can screw in the drawer faces...

...Add a couple of handles, and there we go. A beginner-friendly way to DIY your own modern nightstands.