
Building a Murphy Bed
I’ve always wanted to make a Murphy bed. They’re the perfect solution if you have a small living space, or if you want something more attractive than a futon to add to your guest bedroom, but I’ve never had the opportunity to make one..
Until now that is.
Building a Murphy Bed
Building the Bed Carcass
First we’re going to start by building the main carcass for the bed, measuring 16” and the same height as a standard bed.

After measuring out the pieces we need. We can cut them out of the plywood board.

And fix the pieces together first using pocket holes.

Then securing everything into place with wood glue.

Add Support

With the main carcass frame done, I added two pieces on top to provide extra support.
Creating the Leg and Head Pieces
While we’re waiting for the murphy bed hardware kit to arrive, we can get to work on cutting and connecting the pieces of the legs and headboard.

Make the Slats
For the slats, we're going to take 1x2s, create an L-bracket, and then secure it into the frame.

Creating the Cabinet Side
Next, we need to create the cabinet side of the bed, which is the face of the murphy bed when it’s closed.

For this, we can use two sheets of 29” plywood.

And attach with wood glue and brad nails.
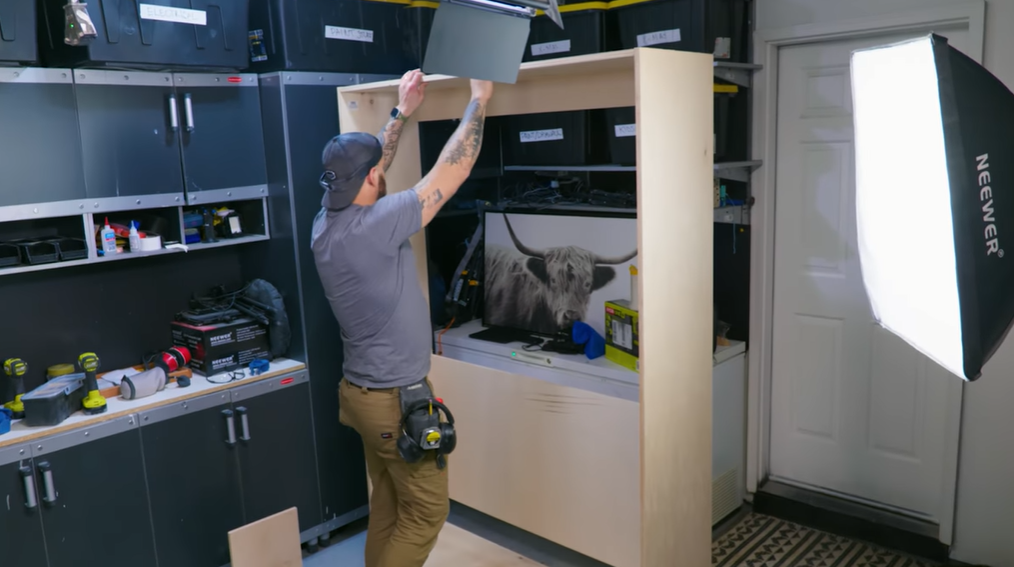
Add the Murphy Bed Hardware

When the hardware arrives, we can add that to the frame.

Adding the hardware also means we can start to put the pieces together so that the base, the carcass, and the front-face are all in place as one.
Creating the Exterior Pattern
To create the barn-like pattern on the outside of the bed, we can use basic 1x4s.

Cut them into shape.

And add them to the bed using wood glue and brad nails.

Sanding, Caulking, and Primer
With everything in place, we can start getting this bed ready for us. First by sanding it down using 220 grit sandpaper.

Then caulking to secure everything in place.

And finally priming...

...And painting.

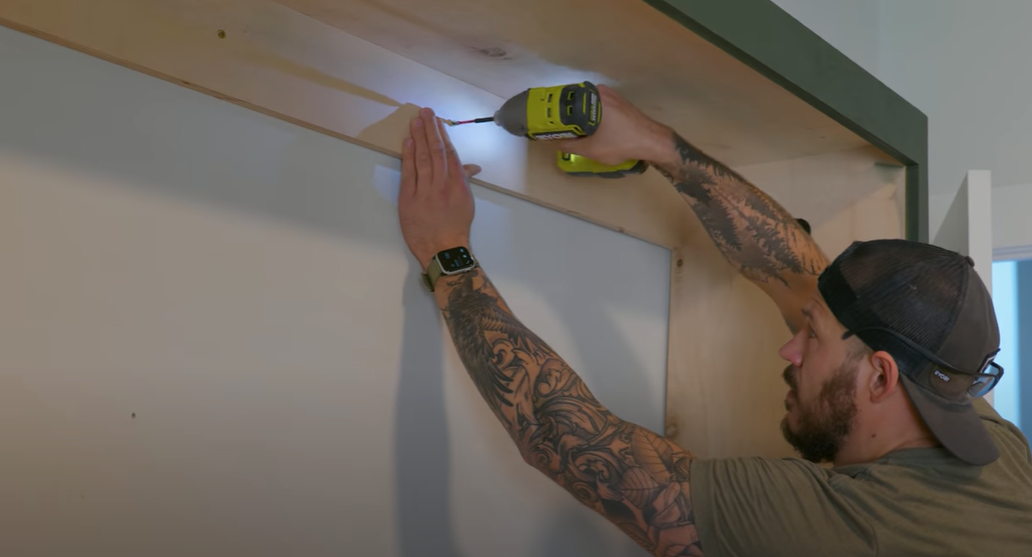
Secure to the Wall

Once the paint is dry, the bed can be secured into the wall.
Add the Handle

Add a handle so that we can pull this thing down when we need to.
Add the Baseboard

Then follow that up by adding the baseboard to put our mattress on.

And that’s the job done.
